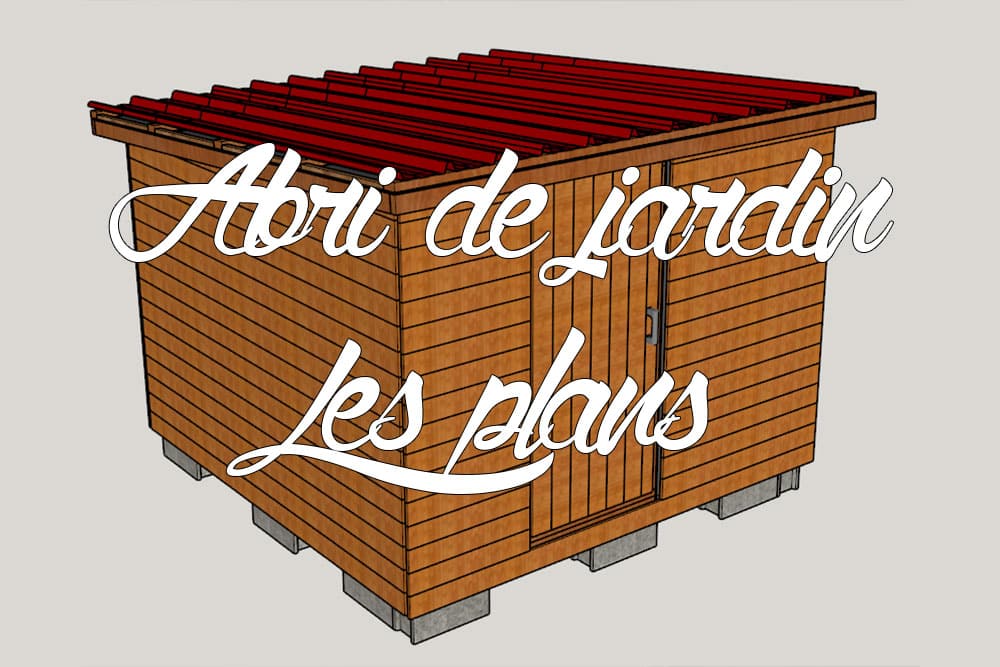
As we explained in our article about the garden shed project, we are going to build a small shelter that will serve as a construction cabin during the construction of our wooden frame house. Here we show in detail all the 3D plans.
We modeled our garden house in 3D using Sketchup software. This allows us to see all the stages and accurately count the materials we will need for construction. Another important point allows you to optimize many small details and anticipate a lot of things. Still, a lot of work, but it’s worth it. Here you will find the floors of our garden house.
The dimensions of our garden house
Our garden house will be 3 x 3 m on the outside (and therefore a little less on the inside) for a surface area of just under 9 m² (8.75 m² to be exact).
We opted for a simple low-slope roof (to limit the need for wood). At the lowest point, we will have 6 ft high under the roof and about 2 m at the highest point.
The floor of the garden house
Initially, the garden house will rest on concrete blocks. Then, we will make a wooden slab of 3x3m to support the weight.
It is a fairly classic wooden slab with a distance of 60 cm between the joists. Normally, we should put the OSB floor directly on top, but because we want the walls to be removable, we did things slightly differently. The OSB floor will be “inside” the walls like this:
But this requires us to add two joists to support the ends of the OSB slabs and our joists. Our walls will be fixed by bolts passing between these two joists.
We will put a right angle bracket to the plate all around:
The walls will land on it.
The frame of the garden shed walls
Our walls are also designed with a distance between the posts of 60 cm (this will allow us to insulate it later if we want).
At the ends of the walls, we doubled the posts so that we can use bolts to fix the walls together. This will allow us to easily disassemble them if necessary. We have a small hole so that the bolt head is inside the studs so you can add the reinforcing OSB from the top.
And here is a transparent view of our method of fixing the walls:
For the fixing with the wooden slab, bolts that hold the wall frame with a low softness are also used. Thus, we can disassemble the walls quite easily.
We will have only one opening: a door. We double the braces and add a lintel around its future location to support the loads.
The reinforcement of the garden shed
The reinforcement allows you to stiffen the structure and prevent deformation. We chose to do it in OSB3 9 mm. The OSB panels are screwed directly onto the posts of the frame. On the other hand, you need a lot of screws – every 150 mm on the perimeter and every 300 mm on the central studs of each OSB panel.
The rain cover of the garden shed
To protect our shelter from rain infiltration, we put a soft rain shield. The rain cover will be laid in a band all around the shelter; we will not separate each wall even if they must maintain the possibility of disassembling the shelter, the rain cover will be cut at that time.
To keep the rain cover firmly in place, we attach it with 27x38mm battens screwed directly into the posts of the wall frame.
The cladding of the garden shed
Later (when you have money in Act: D), you will add Douglas cladding. It will be fixed directly onto the battens that hold the rain cover in place using the ends.
The roof frame of the garden shed
Douglas braces in 45x95mm are still used for roofing. A roof overhang of about 20 cm is created to protect first the rain cover, then the cladding.
The rafters are placed on the wall structures using a small notch, so that the support is stable and distributed.
Then, we will add a kind of braces that will allow you to fix the rafters and avoid drafts from the bottom of the roof.
Finally, to fix the removable roof with the walls, we will use brackets fixed with wood screws on the roof braces and with bolts on the wall frame.
Nice garden shed roof
Just like the walls, we plan to put OSB3 in 9mm to stiffen the roof.
Rain cover for garden roof
The rain cover will be installed on the OSB and fixed with a piece of Douglas in the section 45x95mm.
At the ends, we will also add small pieces of 27x38mm so that there is no air entry into the rain cover.
Steel tray for garden shed roof
The steel tray is then placed on the Douglas fir pieces, which are also used to hold the rain cover, and is targeted using sealed screws.
The door of the shed
The door of the garden shed will be made from the remnants of the wooden parts of the frame. The OSB scraps will be added and then installed vertically. 3 hinges will be fixed to allow the door to swing and a lock will close the door.
Workbench and garden shed shelves
Pieces of Douglas (still in 45x95mm) will make a workbench and shelves. These braces will be fixed with brackets and bolts into the frame braces.
Overall view of the garden house in 3D
And here is what the shed should look like as a whole once completed.
We will add a photo of the shelter once built to compare it to the 3D version 😉
Download the 3D model of the garden house
If you want to see more details about the garden house, you can download the 3D model in Sketchup (you will need the Sketchup software to open it).
Be careful, some details are not modeled, do not follow the 3D model to the letter for your garden shed (for example, in the 3D model we did not put the 4 mm spacing between the brackets). But feel free to be inspired and modify it according to your needs.
For further explanations, find the explanatory video on our Youtube channel 😉
Tag: garden shed plan